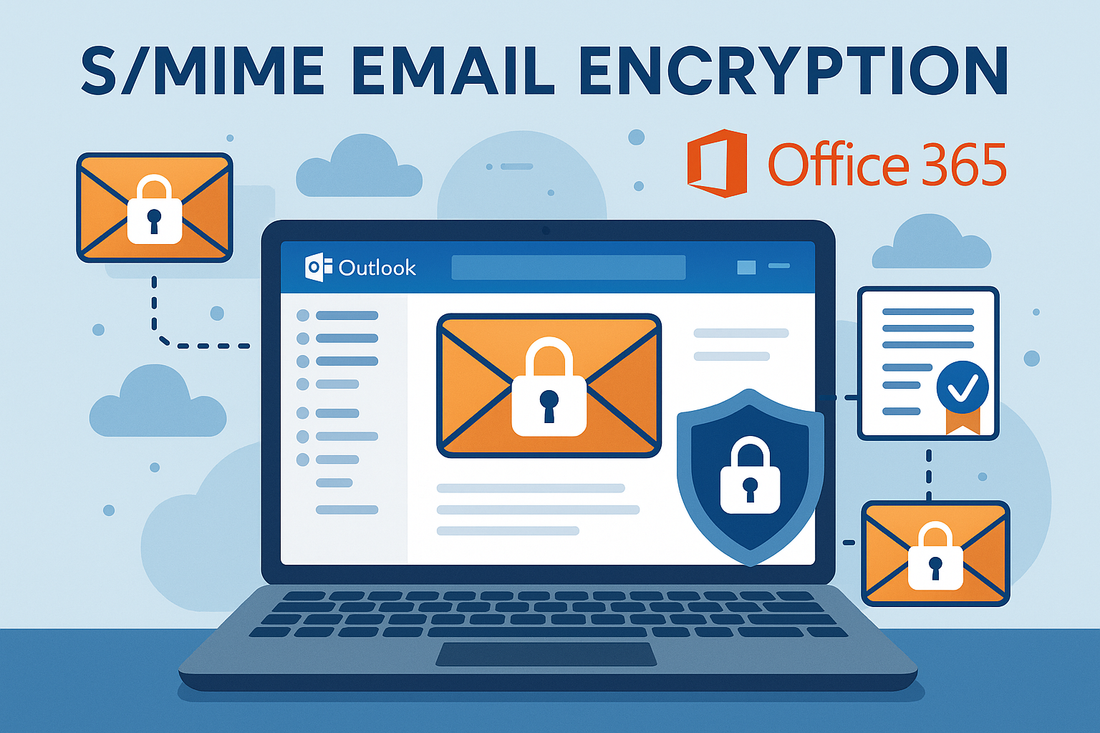
S/MIME Certificate in Office 365
Kevin TaylorShare
Understanding how to properly configure trust for S/MIME SSL Certificates in Office 365 is essential for organizations seeking to implement secure e-mail communications.
Office 365 handles SSL Certificate trust differently than traditional on-premises Exchange servers, requiring specific steps to ensure proper validation of digitally signed e-mails.
Office 365 SSL Certificate Trust Model
Office 365 adopts a strict security approach by not automatically trusting root SSL Certificates by default.
This enhanced security measure helps protect organizations from potentially compromised or unauthorized Certificate Authorities (CA), but it also means administrators must manually configure trust relationships for S/MIME SSL Certificates.
The fundamental difference between Office 365 and Exchange On-Premises lies in their respective trust models. While Exchange Server traditionally relies on the Windows SSL Certificate store, Office 365 maintains its own isolated SSL Certificate trust list that must be explicitly managed through PowerShell commands.
Configuring S/MIME SSL Certificate Trust
To establish trust for S/MIME SSL Certificates in Office 365, administrators must first obtain the complete SSL Certificate chain, including the root and any intermediate SSL Certificates from their Certificate Authority. These SSL Certificates must be in the correct format, typically Base-64 encoded X.509 SSL Certificates with .cer extension.
The process involves using Exchange Online PowerShell to upload the SSL Certificates to Office 365. Administrators need to connect to Exchange Online PowerShell with appropriate administrative credentials before executing the necessary commands to import the SSL Certificates.
Each SSL Certificate in the chain must be added, starting with the root CA SSL Certificate and following with any intermediate SSL Certificates. This hierarchical approach ensures proper chain validation for S/MIME signed messages.
Obtaining Your SST SSL Certificate File
There are several modern methods to obtain an SST file containing your SSL Certificates. We recommend using the Microsoft Management Console (MMC) Certificate snap-in, which is available on all modern Windows systems.
Press
Windows + Rto open the Run dialog, typemmcand press Enter to open the Microsoft Management Console.
Click
Filein the menu bar, then selectAdd/Remove Snap-infrom the dropdown menu.
In the Available snap-ins list, select
Certificatesand click theAddbutton.
Choose
Computer accountwhen prompted, clickNext, then selectLocal computerand clickFinish.
Click
OKto close the Add or Remove Snap-ins dialog.
In the left pane, expand
Certificates (Local Computer), then expandTrusted Root Certification Authorities, and click onCertificates.
Use
Ctrl+Clickto select all the relevant Root SSL Certificates that you wish to include in your SST file.
Right-click on one of the selected certificates and choose
All Tasks, thenExportfrom the context menu.
In the Certificate Export Wizard, click
Nexton the Welcome screen.
Select
Microsoft Serialized Certificate Store (.SST)as the export format and clickNext.
Provide a filename and location for your SST file, then click
NextandFinishto complete the export process.
Alternatively, you can use PowerShell to create an SST file directly from your certificate store using the following command :
Get-ChildItem -Path Cert:\LocalMachine\Root | Export-Certificate -FilePath C:\temp\certificates.sst -Type SST
Save time! We've also generated an SST file containing the required trust chain. This SST file can be used with Sectigo® S/MIME and Trustico® S/MIME Digital Certificates. Download SST File 🔗
Connecting to Office 365 via PowerShell
Before you can import your SSL Certificates, you must establish a connection to Office 365 using the modern Exchange Online PowerShell V3 module. This updated method provides enhanced security and better functionality compared to legacy connection methods.
First, install the Exchange Online PowerShell V3 module by executing the following command :
Install-Module -Name ExchangeOnlineManagement -force
To ensure you have the latest updates installed, execute the following command :
Update-Module -Name ExchangeOnlineManagement
Load the Exchange Online module by executing the following command :
Import-Module ExchangeOnlineManagement
Connect to Office 365 with your appropriate admin account using the following command, replacing the e-mail address with your actual admin account :
Connect-ExchangeOnline -UserPrincipalName admin@yourdomain.com
This command will prompt you for authentication using modern authentication methods. Once successfully connected, you can proceed with the SSL Certificate import process without needing to manage PowerShell sessions manually.
Importing Your SST SSL Certificate File
Once you have established a successful connection to Office 365 via PowerShell, you can import your SST SSL Certificate file using the Set-SmimeConfig command. Execute the following command, replacing the filename placeholder with your actual SST file name and path :
Set-SmimeConfig -SMIMECertificateIssuingCA (Get-Content <filename>.sst -Encoding Byte)
After the SST SSL Certificate file has been installed, you will need to ensure that Directory Synchronization (DirSync) synchronizes the changes throughout your Office 365 environment.
This process typically occurs automatically within 30 minutes of the SSL Certificate import, but can be manually triggered using the DirSyncConfigShell and start-onlinecoexistencesync commands if immediate synchronization is required.
Save time! We've also generated an SST file containing the required trust chain. This SST file can be used with Sectigo® S/MIME and Trustico® S/MIME Digital Certificates. Download SST File 🔗
When you have completed the SSL Certificate import process, it is important to properly close your PowerShell session to maintain security best practices. Execute the following command to cleanly terminate your connection to Office 365 :
Disconnect-ExchangeOnline
Once the Directory Synchronization process has completed, any SSL Certificate issued from the Certificate Authorities (CA) that you have imported should properly chain up and be trusted within your Office 365 environment.
Validation and Testing Your SSL Certificate Implementation
After implementing S/MIME SSL Certificate trust, thorough testing is crucial to ensure proper functionality across your organization. Administrators should verify that digitally signed e-mails are properly validated across different Office 365 clients, including Outlook Web Access (OWA), desktop Outlook clients, and mobile devices.
Common validation issues often stem from incomplete SSL Certificate chains or incorrect SSL Certificate formats. Organizations should maintain detailed documentation of their SSL Certificate deployment and regularly monitor the expiration dates of installed SSL Certificates to prevent validation failures that could disrupt secure e-mail communications.
Best Practices for S/MIME SSL Certificate Management
Implementing a robust SSL Certificate management strategy is essential for maintaining secure e-mail communications throughout your organization. Organizations should establish clear procedures for SSL Certificate renewal and replacement, ensuring continuous operation of S/MIME functionality without service interruptions.
Regular audits of trusted SSL Certificates help identify and remove unnecessary or expired SSL Certificates from the Office 365 environment. This proactive approach minimizes security risks and maintains optimal system performance while ensuring that only valid and current SSL Certificates remain in your trust store.
Working with a trusted Certificate Authority like Trustico® ensures organizations receive properly formatted S/MIME SSL Certificates that meet Office 365 requirements and industry security standards.
Troubleshooting SSL Certificate Issues
When encountering S/MIME validation problems in Office 365, administrators should first verify that the complete SSL Certificate chain is properly installed. This includes checking that all necessary root and intermediate SSL Certificates are present and correctly configured in the Office 365 environment.
SSL Certificate validation errors often appear in Office 365 logs, providing valuable diagnostic information for troubleshooting purposes. Administrators should review these logs when investigating SSL Certificate trust issues, paying particular attention to chain validation errors and expiration warnings that may indicate underlying problems.
Regular monitoring of SSL Certificate health and validation status helps organizations maintain secure e-mail communications. Implementing automated alerting for SSL Certificate related issues enables prompt response to potential problems before they impact users and compromise the security of your e-mail infrastructure.
Maintaining Secure E-Mail Communications
Office 365 requires manual configuration of S/MIME SSL Certificate trust to ensure secure e-mail communications. The SST file format is essential for importing multiple SSL Certificates simultaneously, while PowerShell connectivity to Exchange Online is mandatory for proper SSL Certificate management.
Proper testing across all Office 365 clients ensures comprehensive S/MIME functionality throughout your organization. Regular SSL Certificate maintenance prevents security vulnerabilities and operational issues that could compromise your e-mail infrastructure.
By following this comprehensive implementation guide, organizations can successfully establish and maintain S/MIME SSL Certificate trust in their Office 365 environment, ensuring secure and validated e-mail communications for all users while maintaining the highest standards of digital security.